

Wondering how to change your Apple Watch strap quickly and easily? Follow these five simple steps to change your Apple Watch strap without causing any damage to the watch.
Key Takeaways
-
Prepare your Apple Watch by placing it on a clean, soft surface and turning the watch face down to access the band release buttons.
-
To change the strap, firmly press and hold the release buttons to slide out the old band by sliding it to the left, then slide in the new strap until you hear a click.
-
Ensure the new Apple Watch strap is securely attached and fits snugly on your wrist, allowing for accurate sensor readings and comfortable wear.
Prepare Your Apple Watch

Before starting, prepare your Apple Watch to avoid potential damage. Place it on a clean surface. A lint-free, micro-fiber cloth or a soft, padded mat helps prevent scratches, avoiding unsightly marks or damage.
Turn your Apple Watch face down to easily access the band release button without obstructing your view. Locate the horizontal band release buttons on the back of the watch, centered just below the edge.
With your Apple Watch face down and the band release buttons located, you’re ready to remove the current strap. Preparation is key to a smooth and scratch-free strap change.
Remove the Current Strap
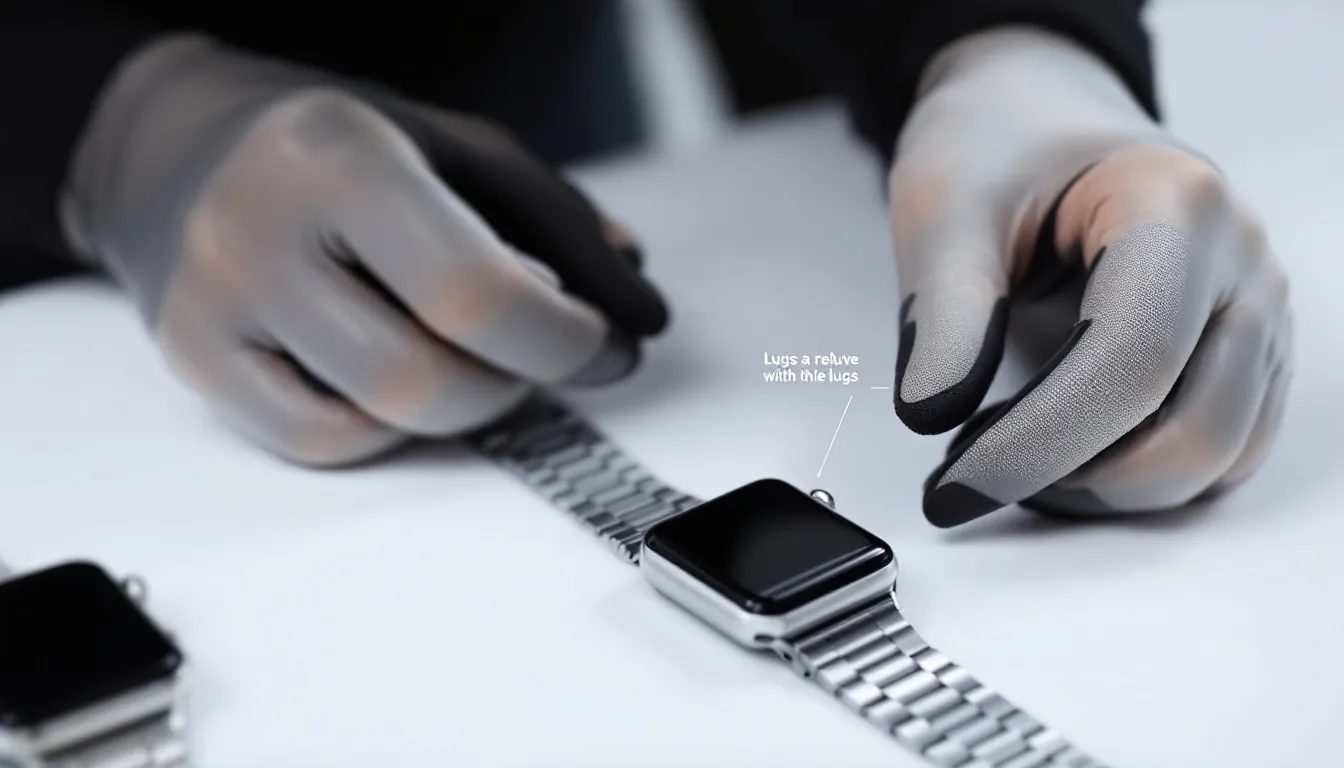
Ensure your Apple Watch remains on the soft, clean surface to avoid any damage during the strap change. With your watch securely in place, tackle the band release buttons.
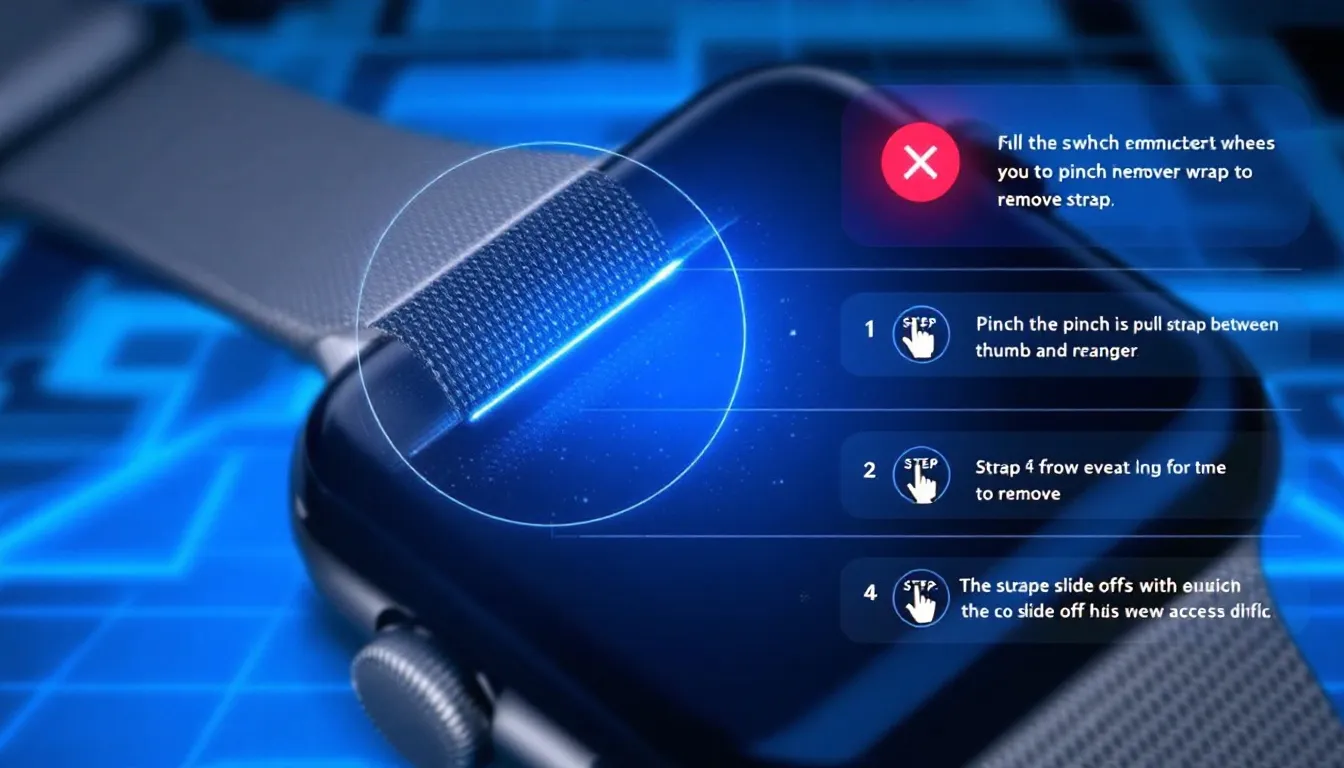
To remove the current strap, press one of the band release buttons on one side of the watch located on the underside of the Apple Watch, just below the edge. Press firmly and hold the button down while you slide the band out. This process requires a bit of pressure, but don’t worry—your Apple Watch is designed to handle it.
After pressing the release button, slide the strap out smoothly to the left. If it doesn’t budge, ensure you’re pressing the release button firmly enough. Repeat for the other side. With both sides removed, proceed to attach the new strap.
Attach the New Strap
Now for the fun part—attaching your new strap. Align the new strap with the slots on the watch, ensuring both face the same direction. Gently slide the band into the slot until you hear and feel a click, indicating a secure attachment.
Avoid forcing the new strap into the slot to prevent damage to both the watch and the strap. Take your time and ensure it slides in smoothly.
Repeat for the other side, ensuring the watch face remains facing down to prevent misalignment. Once both sides are attached, give the straps a gentle tug to confirm they are locked in place.
Verify the Secure Fit
With the new Apple Watch strap attached, verify the secure fit by gently pulling and shaking the connectors sideways. If the Apple Watch moves or slips when you shake your wrist, the strap may need to be tightened.
A proper fit ensures comfort and functionality of the watch’s sensors, which need contact with your skin to accurately monitor metrics. Make sure the strap is snug but not too tight, as a helpful fit can enhance performance.
Check that the strap isn’t installed upside down to avoid scratches and ensure it locks properly. With these checks complete, your Apple Watch should be securely fitted and ready to wear.
Troubleshooting and Tips
If you’re having trouble changing your Apple Watch band, here are some troubleshooting tips to help you out:
-
Make Sure the Band is Aligned Properly: When inserting a new band, ensure that the text on the band is facing you and that it aligns perfectly with the Apple Watch face. If the band doesn’t slide in easily, try adjusting the alignment slightly. Proper alignment ensures a smooth fit and prevents any damage to the watch or the band.
-
Use the Correct Band Release Button: Remember, there are two band release buttons on the back of your Apple Watch, one for each side of the band. Make sure you press the correct button to release the band. Pressing the wrong button might make it difficult to slide the band out.
-
Don’t Force the Band: If the band doesn’t slide out easily, avoid forcing it. Instead, try wiggling it gently back and forth while pressing the band release button. Forcing the band can cause damage to the release mechanism or the band itself.
-
Check for Debris: Sometimes, dirt or debris can block the band release mechanism, making it hard to remove the band. Check the area around the band release buttons and clean it with a soft, lint-free cloth. This can help ensure a smooth release.
-
Use the Correct Band Size: Ensure that the new band is compatible with your Apple Watch case size. Using the wrong size can prevent the band from fitting properly. Refer to the Apple Watch band compatibility chart to find the correct size for your watch.
-
Adjust the Band Carefully: When adjusting the band, make sure to press the release buttons and use the adjustment holes to avoid damaging the band or the Apple Watch. Gentle adjustments can help you achieve a perfect fit without causing any harm.
-
Watch YouTube Tutorials: If you’re still having trouble, consider watching YouTube tutorials. These videos can provide visual guidance on how to change your Apple Watch band. You can also show the transcript of the video to get a better understanding of the process.
-
Use Your iPhone for Help: If you’re having trouble finding the band release button or need help with the process, use your iPhone to search for Apple Watch band replacement tutorials or guides. This can provide you with step-by-step instructions and helpful tips.
-
Be Patient: Changing the Apple Watch band may take some time and patience, especially if you’re new to the process. Take your time and follow the steps carefully to avoid damaging the band or the Apple Watch. Patience is key to a successful band change.
-
Seek Help if Needed: If you’re still having trouble, consider visiting an Apple Store or an authorized Apple reseller for assistance. They can provide you with helpful tips and guidance on how to change your Apple Watch band. Professional help can ensure a smooth and safe band change.
By following these troubleshooting tips and using the correct techniques, you should be able to change your Apple Watch band with ease.
Customize and Enjoy
The Apple Watch offers extensive customization options. Apple Watch bands come in various materials such as silicone, leather, and metal, enabling users to express their personal style. Whether you need a durable band for workouts or a classy strap for formal events, there’s something for everyone.
For a personal touch, custom Apple Watch bands can be created through laser engraving, offering unique designs that showcase individuality. Ensure the new band corresponds to your Apple Watch case size before purchasing.
Ensure the back of the watch maintains contact with your skin for accurate sensor readings. After attaching the Apple Watch strap, your Apple Watch should feel snug on your wrist. Replacement bands are available from various retailers, including the Apple Store, Best Buy, and Amazon.
With your Apple Watch customized, enjoy the new look and feel. Whether you’re hitting the gym or attending a formal event, your Apple Watch is ready to complement your style.
Summary
Changing your Apple Watch strap is a simple yet impactful way to personalize your device. By following these five steps, you can easily switch out your strap and enjoy a new look in minutes. From preparation to verification, each step ensures a secure and stylish fit.
Remember, a proper fit is essential for both comfort and functionality. Make sure the strap is snug and the watch’s sensors maintain contact with your skin. With the extensive options of Apple Watch bands available, you can customize your watch to suit any occasion or style.
For an extensive range of options, consider exploring Wrist Envy's collection of Apple Watch straps. They offer a diverse selection, including men's Apple Watch straps, women's Apple Watch straps, and general Apple Watch straps, ensuring you find the perfect match for your taste.
So go ahead, give your Apple Watch a new look, and enjoy the versatility it offers. Happy customizing!
Frequently Asked Questions
How to attach a new Apple Watch band?
To attach a new Apple Watch band, press and hold the release button on the back, slide out the old band, and then slide in the new band until you hear a click. Make sure the text on the band is facing you for the correct orientation!
Where is the band release button on an Apple Watch?
The band release button on an Apple Watch is located on the back, featuring two horizontal buttons. Simply press down the top button and slide the band out, then repeat with the bottom button to fully remove it.
How do I know if the new strap fits my Apple Watch?
Make sure the new strap matches your Apple Watch case size, so it fits perfectly. Check the size specifications before buying!
What should I do if the strap doesn't slide out?
If the strap doesn’t slide out, try pressing the release button more firmly while attempting to slide the band. Sometimes it just needs a little extra pressure!
Can I use any material for my Apple Watch band?
Absolutely, you can use a variety of materials like silicone, leather, and metal for your Apple Watch band. Just ensure it's compatible with your watch model!